Default WordPress Image Sizes and How to Add Proper Custom Sizes
When you upload an image, WordPress does a lot of work behind-the-scenes so you can serve the image to your visitors. You can piggyback on this process and add custom image sizes to save having to resize images manually.
In this post, I’ll explain how and why WordPress creates different image sizes. Then I’ll teach you how to add your own image sizes by modifying the functions.php file, regenerate thumbnails and add your new image sizes to the Gutenberg image block and/or the WordPress loop.
In a hurry? Here’s everything you need to know about WordPress image sizes:
- WordPress Image Sizes Explained
- Before You Start Creating Custom Sizes
- How to Add Custom Image Sizes
- Best Practices
WordPress Image Sizes Explained
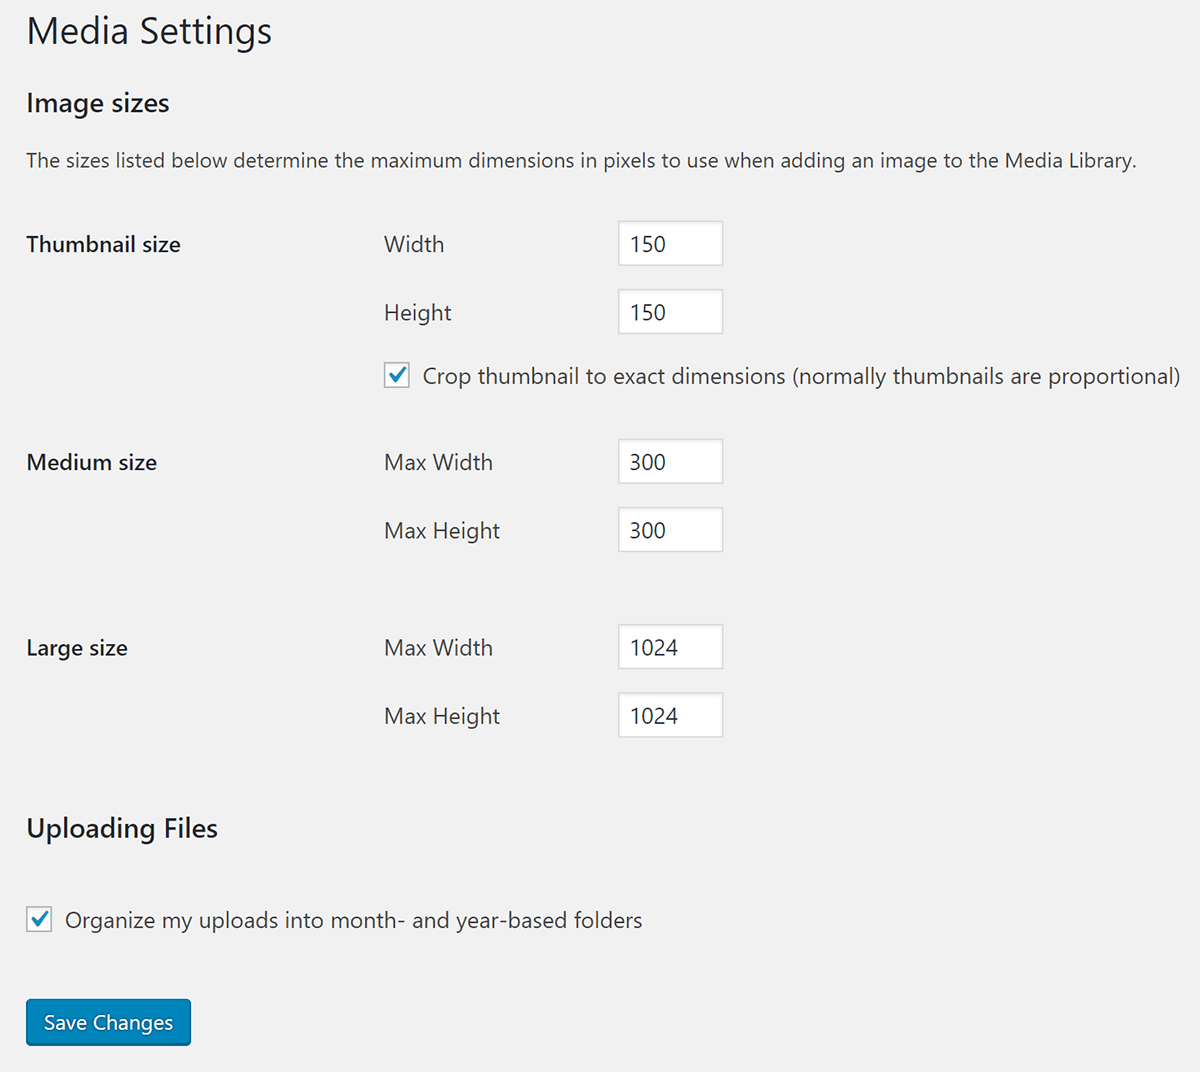
Every time you upload an image into the WordPress media library, these are the additional image size options WordPress creates by default:
- Thumbnail (150px)
- Medium (300px)
- Medium Large (768px)
- Large (1024px)
If your theme specifies additional image sizes, WordPress creates those as well. WordPress also preserves the original size you upload and names it Full as in full-size.
You can see all of these (with the exception of Medium_Large) in the Gutenberg image block Image Size drop down when inserting an image into a page or post.
Why does WordPress create so many images?
Images are like pants: you want to make sure you get the right size. Pants and images that are too small look silly and it’s painfully obvious to you and everyone else that they don’t fit right. By contrast, if they’re too large, that’s super wasteful. You wouldn’t put a pair of pants made for a man on a baby, right? It’s so much extra fabric that isn’t even necessary. That baby is going to get lost in a pant leg ;)
Images are the same. If your image is too small for the container, it will look stretched out or pixellated. If your image is too large, you’re wasting bandwidth and time downloading it to serve on your page. And for what? For nothing.
Ideally, the full-size images you upload should be big enough to fit the largest image container on your site, but no larger. Then when you use images on your site, you should use the exact size image you need. Since scaling images to create the right size in Photoshop or other image editor takes valuable time, WordPress takes on this task and does it for you. Thanks, WordPress!
All you need to do is choose the appropriate size when inserting an image into your site to get the performance benefits of using an image that is just right. If the WordPress default image sizes aren’t perfectly sized for your theme, you can adjust the defaults in the Media > Settings section or add custom sizes so you’ll have more options to choose from.
Note that medium_large was added to take advantage of responsive image support, which is why it isn’t included in the settings page. Speaking of responsive images…
Responsive Images
All of these images in various sizes serve another purpose, so you shouldn’t set the defaults to zero to keep WordPress from creating them, as some tutorials suggest.
WordPress added responsive images to core in version 4.4. Instead of populating image src attributes with the URL for just one image, WordPress also added srcset (set of sources) which is a list of URLs of images of various sizes.
Guess what images it uses to create that list? Yup, WordPress uses the same images at different sizes it creates when you upload an image.
It offers this list to the browser so it can select an image that is appropriate for the visitor’s device. If the visitor is using a mobile device, they’ll receive a smaller image in the srcset. If they’re visiting your site on a desktop Retina device, then they’ll receive the full-size Retina-ready image file you uploaded. Again, this is why you should upload an image big enough to fill that need.
When you add a custom image size, WordPress will add it to the srcset as long as it has the same aspect ratio. If the custom image size crops the image into a different shape then it will be omitted from the set.
“Web-Optimizing” Larger Images In WordPress
WordPress 5.3 introduced a new way to manage large image files by detecting and generating a “web-optimized maximum size” of them.
How does it work?
When a new image is uploaded, WordPress will detect if it is a “big” image based on whether its height or width is above the big_image threshold.
The default threshold value is 2560px (this can be altered using the new big_image_size_threshold filter).
If an image’s height or width is above this threshold, it will be scaled down – with the threshold being used as max-height and max-width value.
The scaled-down image will be used as the largest available size.
Want to disable the scaling?
The scaling is controlled by the big_image_size_threshold filter.
Returning false from the filter callback will disable it (as below):
add_filter( 'big_image_size_threshold', '__return_false' );
WordPress Thumbnails and Featured Image Size
We’ve now reached the part of our tutorial where we will unravel the whole thumbnail/featured image mess. Basically, the problem boils down to this; because WordPress maintains backward compatibility as it evolves, the names of things change, but the functions still refer to things by their old names.
The WordPress Thumbnails image size was introduced in version 2.9 but was quickly changed to Featured Images in version 3.0, but alas, the name stuck. So you’ll often hear featured images referred to as thumbnails in tutorials and even in the function names.

Here are some examples:
- If your theme doesn’t have featured images and you want to enable that feature, you’ll add
add_theme_support( 'post-thumbnails' );to your functions file. - To display the WordPress featured image size in a theme, you’ll use
the_post_thumbnail()function.
Thumbnails and featured images share a default size of 150px by 150px. If you use the_post_thumbnail() function without an argument to specify the size, it will use the default 150px square size.
To make this less confusing for yourself so you can actually use the right size, I suggest creating a custom image size and naming it featured-large or something similar. Then, when you want to use that image in you’re the loop, you’ll use the_post_thumbnail('featured-large').
Before You Start Creating Custom Sizes
As you start creating custom image sizes, avoid going overboard and creating images for every conceivable purpose. Otherwise, you’ll burn through space on your hosting and if you’re using an image optimization service that charges you per image, you’re going to go through your image allowance a whole lot faster.
If your plan allows you to optimize 100 images but every upload generates 9 additional sizes that also need to be optimized, you’ll hit your limit once you upload 10 images. Keep this in mind when adding custom sizes and choosing image optimization plans.

FREE EBOOK
Your step-by-step roadmap to a profitable web dev business. From landing more clients to scaling like crazy.

FREE EBOOK
Plan, build, and launch your next WP site without a hitch. Our checklist makes the process easy and repeatable.
Smush Pro doesn’t have image optimization limits and comes with a CDN so you can keep your server storage space clear. You’ll be able to add more custom image sizes than you normally would. Think of it as the equivalent of putting flowy MC Hammer pants instead of little skinny jeans on those babies because the fabric is cheap :) Try Smush Pro today.
How to Add Custom Image Sizes
Here is the code we’re going to be adding to our functions file to add image sizes:
add_image_size( 'the-name-for-custom-image-size', 600, 400, true );
This function accepts 4 parameters in this order:
- The name you give your custom image size
- The image width in pixels
- The image height in pixels
- Should the image be cropped to fit the width and height you specified above
Cropping
The cropping parameter is a boolean, so you’ll use true or false. If you leave it out entirely, then it will default to false.
If you set the cropping parameter to true, then WordPress will crop your image to fit the dimensions you specify when it creates the custom image.
For example, if your custom image size is a 600px by 600px square and you set cropping to true, then if you upload a 600px by 800px rectangular image, 200px will get chopped off to make the image square.
add_image_size( 'custom-image-square', 600, 600, true );
Setting the cropping parameter to true is helpful for image sizes that have to be exact, like featured images or post archive images that have to fit a certain dimension perfectly.
For images that can have more wiggle room, such as the WordPress post image size and images on pages that tend to have variable heights and widths, then you can set cropping to false. This will resize the images, but it won’t change the shape of the image or cut off any pixels.
Take a look at our image SEO guide if you’re trying to drive traffic to your sites with your images.
Regenerating Thumbnails
One of the most important steps when either:
- modifying the WordPress default image sizes
- adding custom image sizes or
- switching over to a new theme that has different custom sizes
is regenerating thumbnails.
In this context, thumbnails refers to all the additional images WordPress creates, including the custom image sizes that are included in your theme and the ones that you create via your functions file.
When you make a change to the way that WordPress creates additional images, then it will only affect the images you upload going forward. It doesn’t update the images that are already in your media library.
To change the images you’ve already uploaded, you’ll have to use the popular Regenerate Thumbnails plugin.
After you install it, you’ll find it in the Tools section.

When you regenerate your thumbnails in your new sizes, you’ll have the option to delete old unused image sizes to free up server space.
How to Add Custom Image Sizes to the drop-down in the Gutenberg image block
You only need to add the code below to your functions file if you want your custom image sizes to appear in the drop-down in the Gutenberg image block. If you created a custom image size to use behind-the-scenes for your theme, you can skip this step.

We’re going to be hooking onto the image_size_names_choose filter.
In the array, I’ll add the name of the custom size that I specified in the add_image_size function and the name that I want to appear in the drop-down within the parentheses.
As I learned when doing this tutorial, you’ll have to regenerate thumbnails before the image appears in the drop down.
WordPress Add Image Size Full Code Snippet
Next, we’ll combine everything we learned into one code block with a real-world example.
Let’s say you want to add custom image sizes to your blog.
Here are the image sizes you want to add:
- A 1600px by 400px featured image
- An 800px size that spans the width of your blog’s content section
Since our theme doesn’t currently support featured images, we’ll start with that.
You’ll then see my custom sizes. Notice that I didn’t crop the images that are going to span the width of the blog content. I will hard crop my featured images since I want them to line up just right.
The only image I want to add to the Gutenberg drop down is the blog image since I’ll be using the WordPress featured image size in my theme.
After I add this code to my functions.php file, the next step is to regenerate thumbnails.
To use my custom featured image for my posts in the loop, I’ll add the following to single.php or index.php
See how I added 'featured-large' in the_post_thumbnail() function? That will display my featured image below my blog posts titles, above my content.
Best Practices
Here are a few more tips so you don’t run into trouble creating custom images in WordPress.
- Always upload the largest file you can. If your image size is too small, WordPress won’t be able to create all the sizes it needs to serve your images properly on a variety of devices.
- If you need to resize the medium_large default size, use the
update_option()function. You can use this same function to update any other WordPress default image size. - If you’re outside the WordPress loop, you can use the function
get_the_post_thumbnail()to use one of your custom images. - Here’s more on soft cropping and hard cropping when creating custom images sizes in case you run into trouble.
Wrapping Up
Once you understand how custom image sizes in WordPress work, you can modify them to fit your needs and save a lot of time. Getting your image sizes right also helps you improve your site performance and search engine rankings, so it is an important thing to get right.
If you really want to take your image optimization to another level, check out Smush. We’ve added an amazing CDN to Smush Pro that has automatic image resizing, which will help you avoid dealing with modifying your functions file to add custom image sizes.
There are also other great image optimization features that come built-in, like lazy loading and converting images to next-gen formats. Try Smush Pro today and see how the image optimization features can improve your site.
Tags:
Felicia Ceballos-Marroquin Felicia is a WordPress expert, specializing in web design/development, search engine optimization, Genesis, and enterprise WordPress multisite. She is a former WPMU DEV author, where she put her decade-plus of WordPress expertise to good use, writing friendly tutorials with soul.