Tips for Simplifying WordPress to Make it Client-Friendly
The WordPress backend is great if you’re used to it, but if you’re new to WordPress it definitely comes with a learning curve.
Average users usually spend their time in the posts section so why give them all those unrelated options? Clients could inadvertently switch or edit themes, or even disable plugins needed to run the site.
Even if your client is well-behaved, perhaps you could do a little something to raise the efficiency of his or her day-to-day workload? Removing menu items, disabling plugin deactivation, modifying the dashboard, adding notices in the backend and so on.
In this article I’ll show you some techniques to help you streamline the WordPress backend for yourself or for your clients. We’ll look at some code-based solutions as well as plugins.
Removing Menu Items
Removing all that clutter in the admin menu on the left-hand side of the screen is a good step toward WordPress zen. One handy method is to use Editor roles for your clients. This will remove tools, settings and a lot of plugin-specific menu items from view.

This is not a perfect solution, however. You may want to hide W3 Total Cache from your clients, but not Advanced Custom Fields. In this case you’ll need to get your hands dirty with some code.
One way to remove menus is with remove_menu_page() and remove_submenu_page(). Just add the following snippet to your functions.php file:
The functions need to be called from within a function hooked to admin_menu. The example above removes the tools and settings menu. I used the current_user_can() function to make sure the menus were only removed for non-admins.
A note about safety: Removing the menu entries does not mean the page is there. With the correct URL you could still get to this page – you’re just taking away easy access.
Sub-menu elements can also be removed. If you are using the excellent Theme Check plugin you may want to hide the entry, but not the whole appearance menu where it resides.
To figure out the two arguments I looked at the URL. themes.php is the slug of the parent element and themecheck is the slug of the sub-menu.
Disable Theme and Plugin Editing
By defining a constant in the wp-config.php file you can remove the file editing options in the plugins and appearance section. Most clients don’t need this at all anyway so disabling it could be a step forward.
The good news is that this doesn’t just hide the menu entry, it actually disables editing. Even if you know the URL you won’t be able to modify the theme or plugins through the admin.
Modify the Dashboard
Before we use code, don’t forget the screen options tab at the top of the page! It contains checkboxes to enable/disable content on many screens. On the dashboard it allows you to switch each widget on and off.
If your client needs occasional access to some widgets it may be best to educate them instead of hiding things from view permanently.
Removing Widgets
Removing widgets is easier than adding them, but it is less logical. WordPress doesn’t have a great system for handling the registration of widgets so we have to resort to complex arrays. The core of it all is the $wp_meta_boxes variable which is an array of all registered dashboard widgets.
$wp_meta_boxes['dashboard']['side'] holds all the right-hand widgets, $wp_meta_boxes['dashboard']['normal'] holds all the left side ones. It is easiest to print the array, search for what you need and unset it. To disable the Quick Press section you could use something like this:
Adding Widgets
Widgets can be added using the wp_add_dashboard_widget() function. Once added, a widget can hold any type of content. From instructional videos to orientation messages and complex Javascript powered sales graphs, you can do anything.
The code above creates a simple widget with some text. Replace the text with any HTML you need to get the job done.
Even a simple text-based widget could help a lot! You could add some guidelines and helpful links within a dashboard widget.
And here’s what it looks like in action:

Don’t forget that you can add any HTML in there and attach scripts and styles. This allows you to create anything from sales graphs to dynamic slideshows. We have a more in-depth article on Adding Custom Dashboard Widgets which shows you how to create a comment trend bar chart like the image below – take a look if you want to learn more.

Adding Help Text
WordPress has a great system for adding help text into the help section at the top of various screens. The tab to open this section is just next to the screen options and contains some basic information.
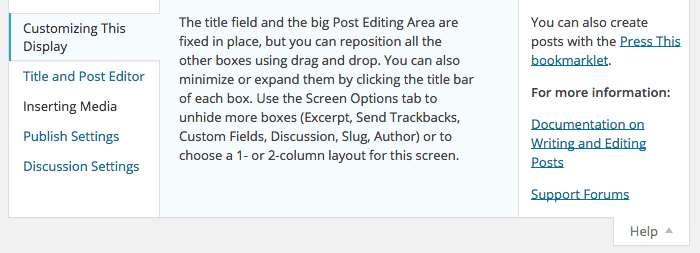
You can add content there yourself and even better – add custom help text for your custom post types and other pages. All you need is the add_help_tab() function.
The code above adds an additional entry in the post section. You can target other screens by adding a post type or the name of the screen you are on. Print the value of the $screen variable to see what the contents are on each page.

Disable Theme Deactivation
You can prevent clients from deactivating specific plugins with a little bit of code. We’ll leverage the plugin_action_links hook to modify the display of links next to specific plugins.

FREE EBOOK
Your step-by-step roadmap to a profitable web dev business. From landing more clients to scaling like crazy.

FREE EBOOK
Plan, build, and launch your next WP site without a hitch. Our checklist makes the process easy and repeatable.
The $plugins array contains the list of plugins you want to prevent from being disabled. If you’re not sure what string to add here simply print the $plugin_file variable which is passed to the function and find the plugin you need there.
Require and Recommend Plugins
Another way to manage required plugins – and also recommend some – is to use the awesome TGM Plugin Activation class. By utilizing this class you can set your requirements and pull them in from the repository or even attach your own plugins to the theme as zip files.

TGM has excellent documentation, take a look at the link above for all the code you’ll need to make this happen.
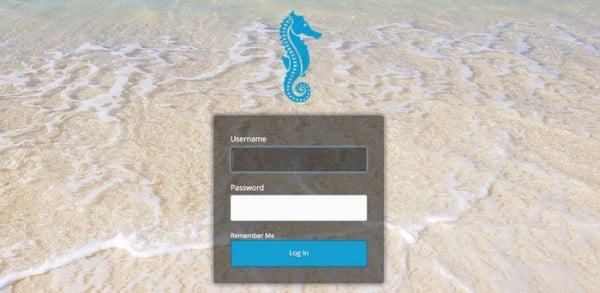
Admin Themes
Creating an environment where the user feels good is a big part of a successful project. The WordPress admin interface may be perfectly functional but this may not be enough. Admin themes are not as prevalent as their front-end counterparts and most of the better ones are premium themes but they can be worth their price.

Admin themes, like Slate pictured above are actually plugins. You can find them throughout the plugin repository as well as on marketplaces like CodeCanyon. We have a roundup of admin themes if you’re interested in a select few.
Using Plugins to Simplify the Backend
A number of plugins have been made to make the WordPress admin interface more user friendly, easier to use, or add missing functionality. The plugins below are just some of the ones you can use to tailor the backend to your client.
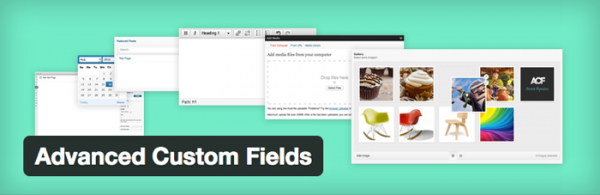
Advanced Custom Fields
You may know by now that ACF is one of my favourite plugins because it can be used for so much! Add some great custom fields like dropdowns, WYSIWYG editors, image fields and more! The premium product gives you even better fields like galleries, maps, repeaters and such.
Use it to accept user input in a much more user-friendly way. You’re not restricted to text fields anymore, no more copy-pasting image IDs into textareas. This makes development a lot easier and data more modular across the site.
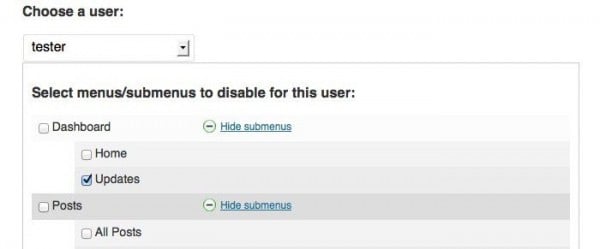
User Menu Simplifier
If you need granular control over who sees what in the menu User Menu Simplifier is the plugin for you. It allows you to select a user and enable/disable any menu or submenu.
This is a good choice for websites with few users, or if you want to disable some options for a test user or a one-time account.
Ultimate Branding
Ultimate Branding allows you to customize the backend by completely white labelling it. This can remove confusion on the client’s part. If they aren’t familiar with WordPress they may not want to see a log which is not theirs, not yours but some “mystical” third party logo on their website.
Ultimate Branding is a good choice if you want to remove all traces of WordPress on a website’s backend.
Clean Up The Dashboard
Clean Up The Dashboard cleans up the dashboard automatically. It doesn’t give you granular control but if you don’t need many of the WordPress dashboard items (I never use them) this is a good one-click solution.

Conclusion
As a web developer it is your job to put effort into your clients’ experiences, not just to focus on the end users. If a client doesn’t feel comfortable in an environment they won’t follow best practices which will lead to a deteriorating website.
It’s easy to blame this on the WordPress admin but it is in your power to change it – quite substantially if you look at the admin themes on offer.
Do you have any great admin customizations under your belt? Let us know in the comments below so we can all learn from each other.
Tags: