How to Wrap Text Around a Video in WordPress

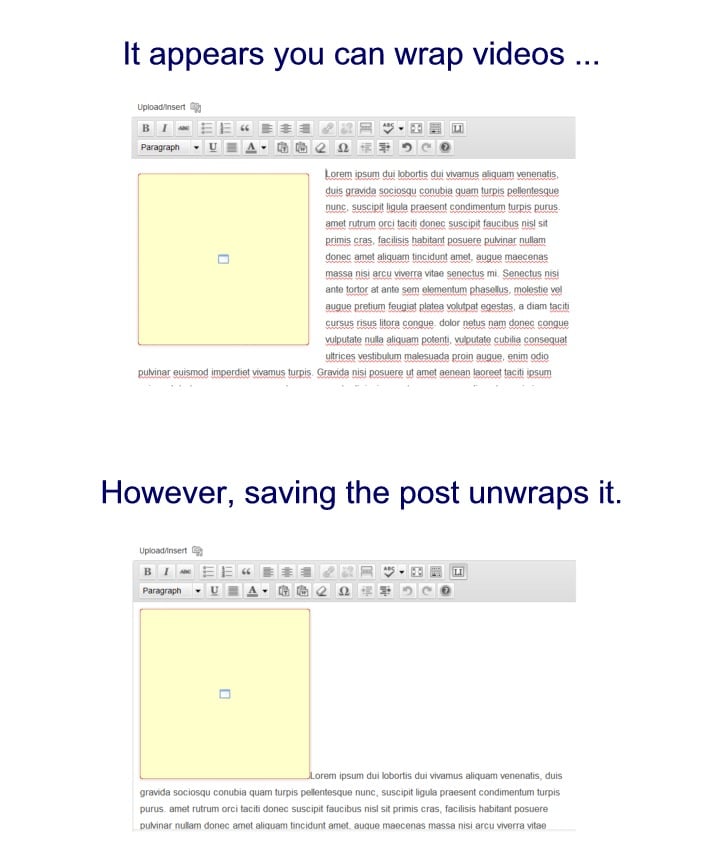
Many people have run into the problem of trying to wrap text around an embedded video in WordPress. This is what they’re hoping for.
The Problem
Instead, they find that no matter what they do, they can’t seem to get the text to wrap around the video.
After inserting the video embed code, it would appear that you can wrap text around the video in the editor as you would an image. However, upon saving the post, the wrapped text suddenly unwraps.
The Solution
At least one solution to this problem is to use simple CSS padding with divs.
You will need to do this in the HTML view (not the Visual view). Wrap your video embed code with a newly created div id. Give it a name that makes sense to you, something like “video-wrap.”
It should look something like this:
<div id="video-wrap">… your embed code here … </div>
Next, you will need to put the style for that newly created div in your Stylesheet. (Appearance > Editor > Stylesheet — style.css)
You can use the following example and adjust it as you like:
#video-wrap {
float: left;
margin: 0 20px 5px 0;
}
The part that says “float: left;” means that the video will be placed to the left.
FREE EBOOK
Your step-by-step roadmap to a profitable web dev business. From landing more clients to scaling like crazy.
FREE EBOOK
Plan, build, and launch your next WP site without a hitch. Our checklist makes the process easy and repeatable.
You’ll notice four different numbers in the code above just after the word “margin.” These determine how many pixels of padding you will have around the four sides of your video. You can adjust these to suit your tastes.
The CSS padding order goes like this:
- 1st number = top padding (space above the video)
- 2nd number = right padding
- 3rd number = bottom padding
- 4th number = left padding
An easy way to remember this is to think of a clock – start at the top, at 12 o’clock, and then go clockwise for the other positions.
In the top position (12 o’clock), there is no padding. On the right side, there are 20 pixels of padding. On the bottom side, there are 5 pixels of padding. And on the left side, there is no padding.
After you’ve set your Stylesheet up the first time, you will not need to change it again unless you want a different look. Just wrap your video embed code in the “video-wrap” divs, and it will take the same style.
Here’s a real life example of some YouTube embed code wrapped with the divs.
<div id="video-wrap"><iframe width="560" height="315" src="https://www.youtube.com/embed/-pXBP_EI9Yo" frameborder="0" allowfullscreen></iframe></div>
Cannot Use Video URLs
WordPress has a nice feature that lets you simply insert the URLs of videos from a number of popular video sites like YouTube and have the videos appear in your Post or Page. It should be noted that the above div code will NOT work with simply the video URLs. In order for the video URLs to work, they must be on their own line with no other text.
So to use this little trick above, you must use the embed code of the video, not the URL.


